
How to Check Power Supply on PC Windows
Checking your power supply is a simple process. Check out our step-by-step guide on how to do so!
Contents
Check the Power Supply’s Case
Inspect the case itself for any cracks or dents that may be visible. This will indicate if there was an accident and it needs to be replaced. Check all of the cables and connections as well, looking for anything loose or broken. If you see anything unusual, then you should replace it immediately to avoid damaging your computer further down the line.
Check the Power Supply’s Case. If you see anything unusual, such as cracks or dents then replace it immediately to avoid damaging your computer further down the line.
Check the Power Supply’s Connections
Check all of the cables and connections as well, looking for anything loose or broken. If you see anything unusual, such as cracks or dents then replace it immediately to avoid damaging your computer further down the line. Inspect each connection carefully; these are fairly sensitive pieces that can easily break if they’re mishandled in any way. Check to make sure that the cables are not frayed, torn, or cut in any place. If they are, then it’s time for a replacement.
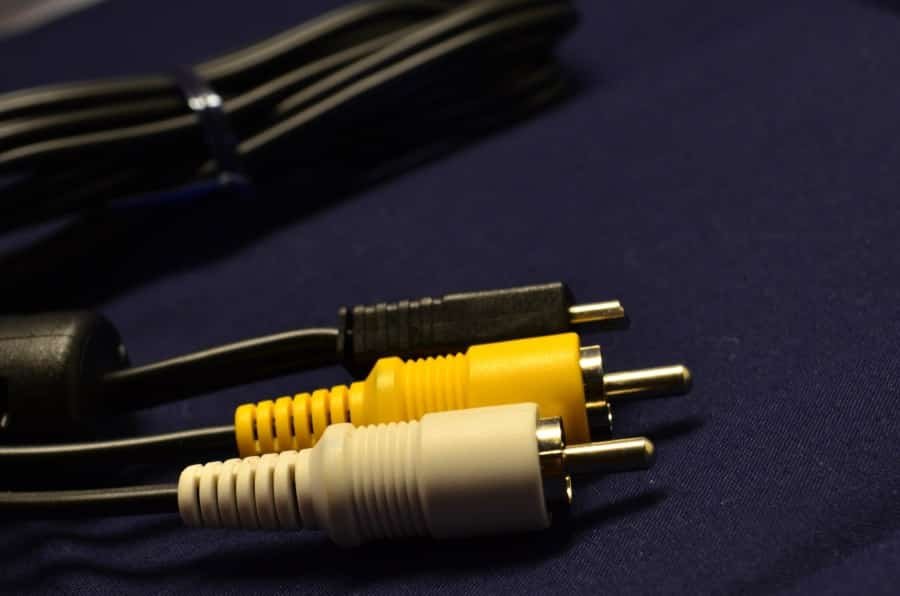
Find out about cables & connectors
After opening the case, you can also check out all of your power supply cables. From what we’ve seen so far there are four types: ATX 12V 2.2+ Complaint Cords; FDD COM Ports (sounds like something that is from Star Trek), Molex 4 pin PCI-Express Connector and SATA Data/Power Links.
Checking the Specifications of Your PC
Next, you also need to know how to check the specs of your PC. That way, you can figure out if it’s good enough for what you won’t do. Checking this information is almost as easy when compared with learning a step-by-step guide on checking power supply in Windows 10.
- Right-click My Computer
- Select Properties
- From the drop-down menu. Look for System in your computer’s properties window
- To see details on what makes it run, such as processor speed or amount of memory installed
You can also access this information by clicking “Start” then navigating through Settings until you findwinver -> General tab followed by finally scrolling down towards the bottom where we have the System section available listed under Performance & Maintenance Options.
Testing the Powers
Before you can learn how to check the power supply on a PC running Windows 10 in detail, you must first understand how to test the energy on your computer. You must determine whether or not the electricity is working. And if you want to do so, you must follow these procedures:
- Do you want to know what happens when your computer is turned off? Here’s how. First of all,
- close the case and make sure there aren’t any power cords plugged in (this will prevent static electricity).
- Then open up a paper clip on both sides so we can use them like clips;
- next, locate where each pin goes by looking at either side – green for positive +ve charge/black = negative voltage drop through an equivalent resistor, etc.
- Once found start sliding down one end until it’s flush against another piece of metal then bend back into place while doing this same technique with another end too!
- Now check fan speed
Also Read: Technology That Every Business Must Own
What is a symptom of a failing power supply?
Any power-on or system startup failures that lead to spontaneous rebooting, intermittent lockups during normal operation, and HDDs simultaneously failing to spin.
What is the best power supply test software?
The best software for testing the powers is CheckPSU. It can determine whether your power supply has failed or if there are any issues with it that need to be addressed immediately before they cause more serious problems down the road.
Here’s how you use CheckPSU to check your computer’s PSU:
Download and install Check PSU. so we can run through tests;
next, make sure the PSU is plugged in and Check PSUis set to read from PORT (COM);
At this point, CheckPSu has successfully determined whether or not your powers are working properly. You should see a boxing show up that says “PASSED”. If you do not, then this means that CheckPSU has found an issue with your power supply. The program will provide you with information on the error, including what caused it and how to fix it.